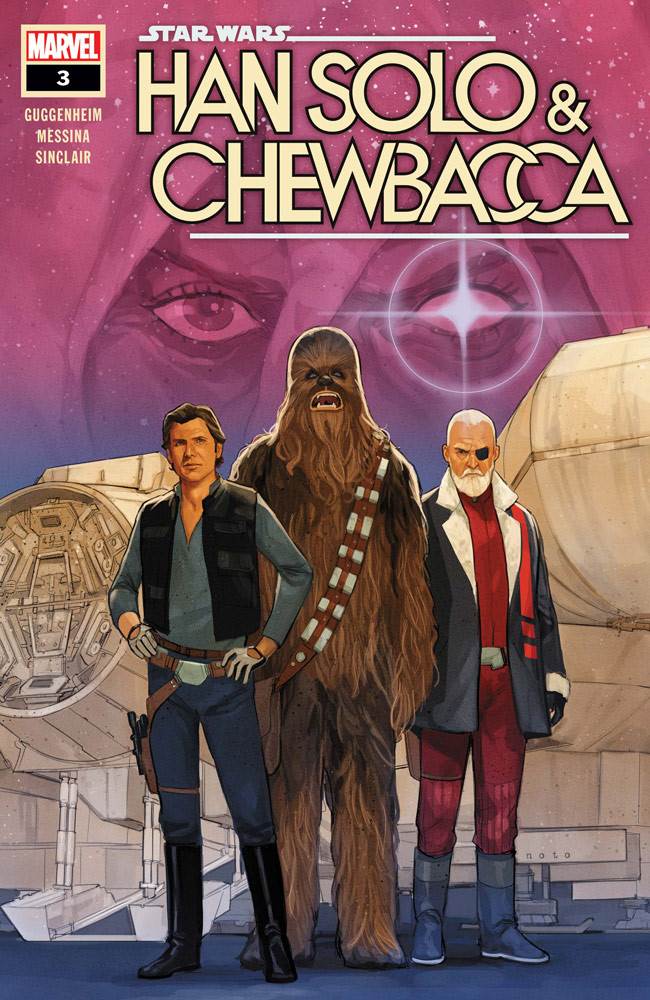
The Crimson Reign crossover event that just concluded in Marvel Comics’ Star Wars titles set between the events of The Empire Strikes Back and Return of the Jedi intersected with Darth Vader, Doctor Aphra, Bounty Hunters, and of course the main Star Wars comic. But I was definitely not expecting it to overlap with Star Wars: Han Solo & Chewbacca, which is set years earlier (between the events of Solo: A Star Wars Story and the original Star Wars film).
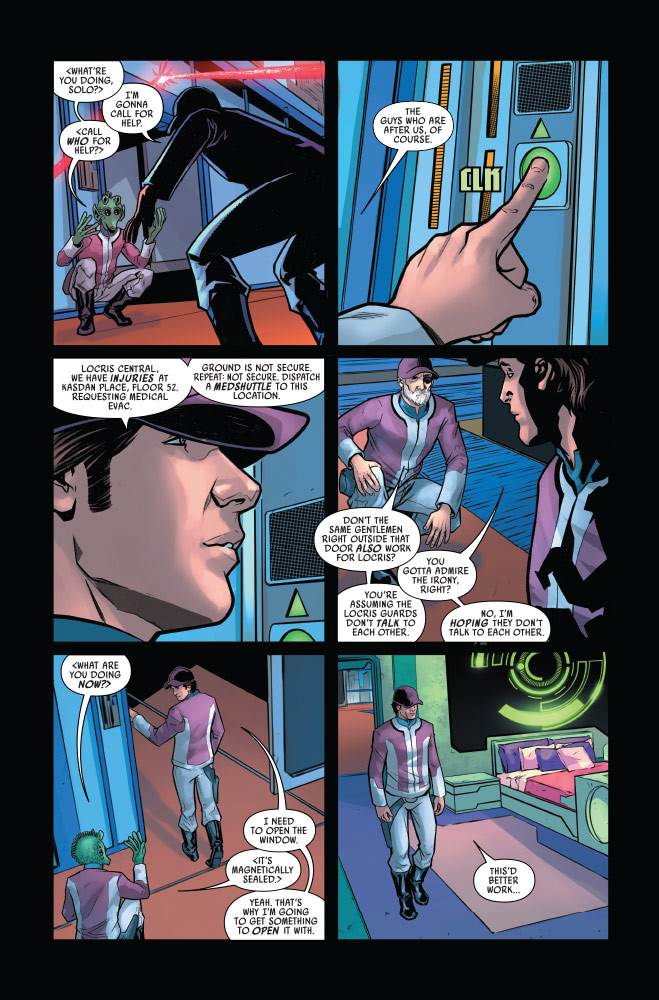
Han Solo & Chewbacca #3 begins where the previous issue’s cliffhanger ending left off: with Han, Greedo, and the man claiming to be Solo’s father cornered in a penthouse apartment on Corellia, their heist mission having gone astray when the item they were supposed to steal– namely an urn containing the ashes of Jabba the Hutt’s rival– turned out not to be in the safe where it was supposed to be.
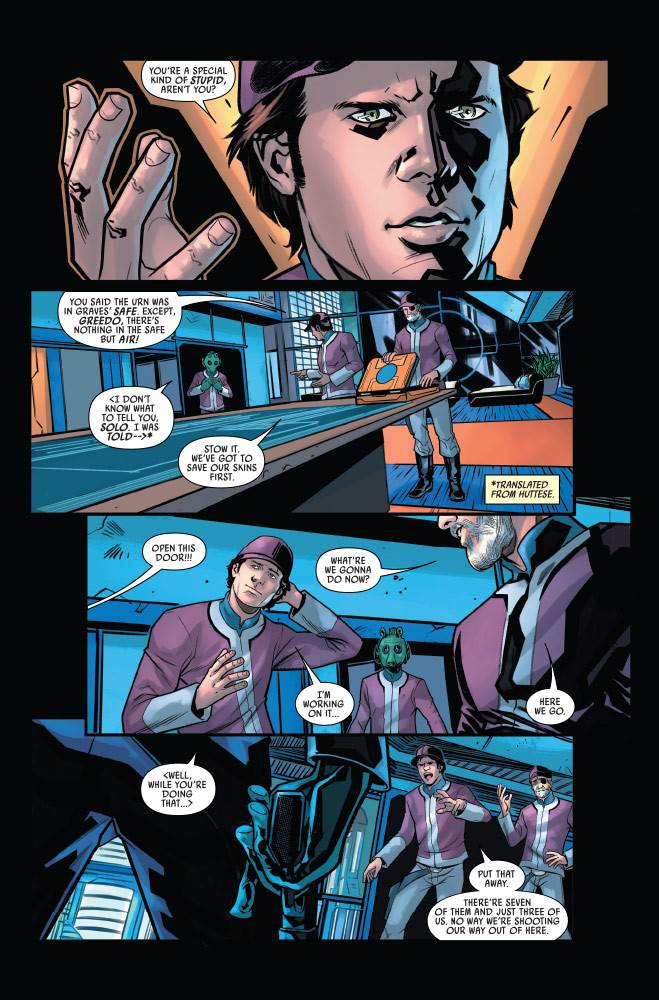
After Greedo tries and fails to blast his way out, Han comes up with a plan involving an emergency medical evacuation provided by the same security firm that’s attempting to capture the crew. Meanwhile, Chewbacca gets the short end of the stick again by driving a getaway speeder that only comes into play very briefly at the end of the heist. Regardless, the gang escapes, Han decides to ditch Greedo (whose only use was information that turned out to be outdated, anyway) and the old man gets a look at– and a ride in– the Millennium Falcon as they make their way to the planet Antillion. If that name sounds familiar to you as a regular comic reader, it might be because we first saw it pop up in Star Wars: Crimson Reign #3, where Han Solo’s ex-girlfriend Qi’ra enlists Sava Madelin Sun (later known as the Archivist) into her cause. And yes, shockingly, those events cross over with Han and Chewie’s mission here– with Han nearly running into Qi’ra as their paths meet (he does spot her through a pair of macrobinoculars, but it’s only from the back and he doesn’t quite make the connection). It’s a strange and surprising turn of events, but I always appreciate a good interconnected nature when it comes to Star Wars storytelling, so no complaints from my end.

Much to Han’s good fortune, Qi’ra steals Madelin away just in time for the smuggler and his supposed father to sneak into her private collection and grab the urn for Jabba. But a last-minute interference by the Wookiee bounty hunter Black Krrsantan (who you might remember from other Star Wars comics, not to mention The Book of Boba Fett) means that our antiheroes might not get away with their prize so easily. Krrsantan’s appearance here makes for another really terrific cliffhanger that has me wondering just how our protagonists are going to find their way out of this particularly dangerous situation and back to Tatooine with that urn Jabba wants so badly. And as for Han’s “dad,” well… the truth of that relationship isn’t really addressed in this issue, but I have a feeling we’ll be getting to that before this miniseries comes to an end. Some sharp writing by Marc Guggenheim and attractive, colorful art by David Messina and Alex Sinclair make this a very entertaining installment of Star Wars: Han Solo & Chewbacca, worthy of these iconic characters we’ve come to know and love over the past 45 years.
Star Wars: Han Solo & Chewbacca #3 is available now wherever comic books are sold.