
Comic Review – “Star Wars: Han Solo & Chewbacca” #9 Has a Surprising Connection to “Revelations” One-Shot


Last month I complained about the overabundance of heist stories in Star Wars (and pop-culture in general), inspired by issue #8 of Marvel’s Star Wars: Han Solo & Chewbacca comic-book miniseries, and I hoped that in its remaining two issues the creative team would find a narrative subject matter that’s a little more unique and original to tackle.
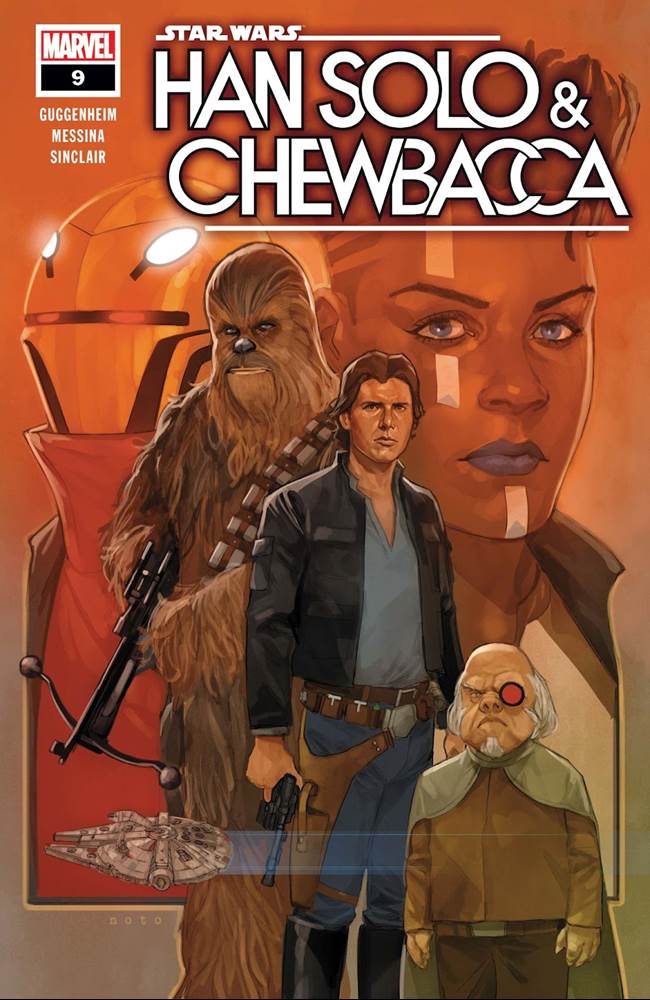
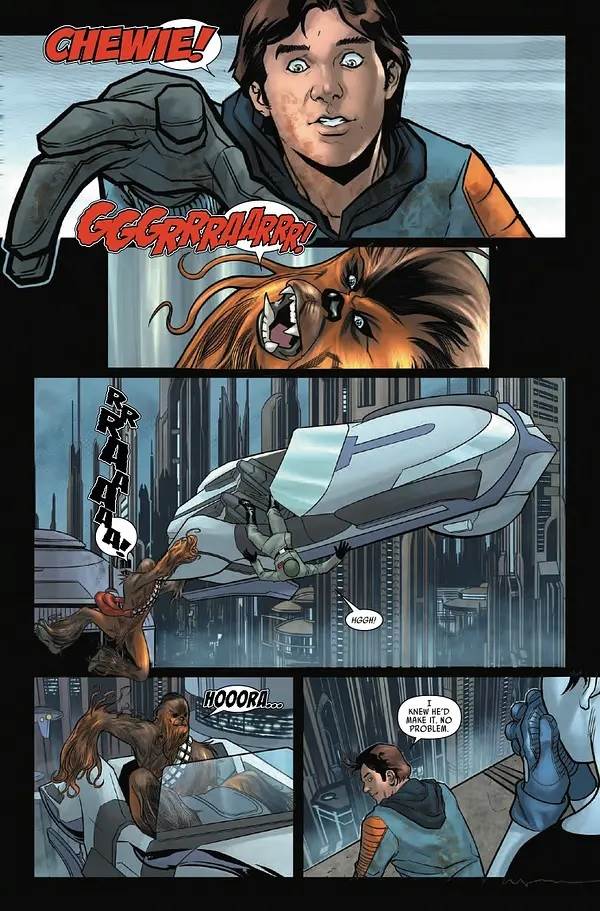
Well, today I got my wish as Star Wars: Han Solo & Chewbacca #9 hit comic shops. This chapter begins by immediately resolving the (admittedly kind of cheap) cliffhanger, revealing that Chewbacca managed to survive his fall and live to fight through another six movies– shocker, I know.
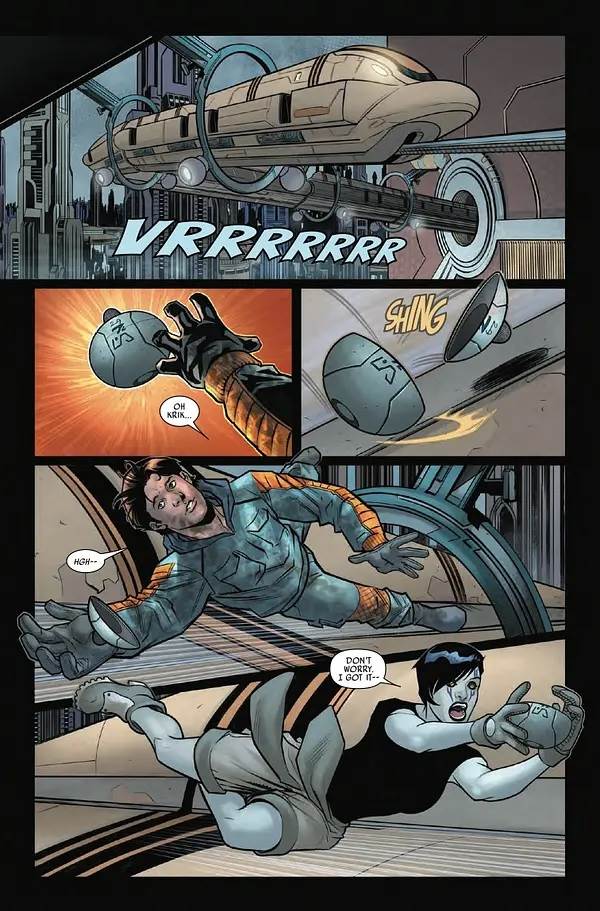
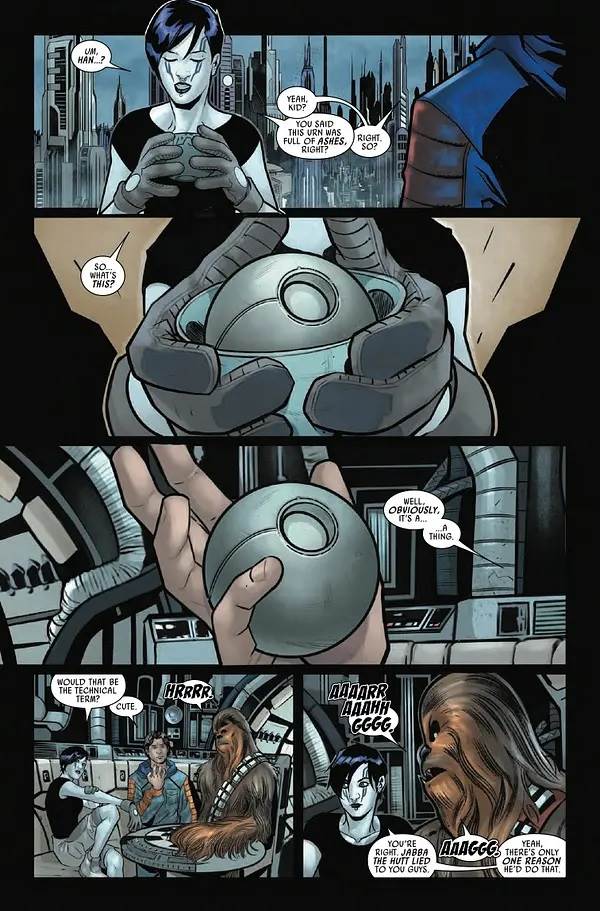
But from there the story gets a whole lot more interesting, as Han, Chewie, and their new cohort Phaedra open the urn they stole for Jabba the Hutt to discover that it does not, in fact, contain the ashes of one of his nemeses as he said. To figure out what it does actually contain, they must travel to the Smugglers’ Moon of Nar Shaddaa, where an Ugnaught acquaintance of Lando Calrissian (great to see Han and Lando’s frenemy relationship during this point in their lives referenced here) tells them that it’s actually the neural core of a centuries-old freedom-fighting droid named Ajax Sigma. If that name sounds familiar, it’s because it was first dropped in the Star Wars: Revelations one-shot this past November, as Darth Vader saw into the future of Star Wars comic storytelling. It’s a great surprise to have that introduction pay off here, even though it kind of spoils what Han and Chewbacca end up doing with the neural core next issue. At the same time, Han and friends are being hunted by both Marshal Buck Vancto and a rival gang of smugglers, both of whom have different reasons for getting their hands on our favorite scoundrel and his loyal Wookiee companion.
The reason the Ajax Sigma revelation is so exciting is because it ties this Han Solo & Chewbacca miniseries in with not only the current era of Star Wars comics set between the events of The Empire Strikes Back and Return of the Jedi, but also potentially The High Republic era, as Ajax’s initial uprising is said to have taken place two hundred years earlier. There’s nothing I love to see more in these titles than the interconnected nature that only comes from the various writers working together with the Lucasfilm Story Group– and I almost wish the entire Star Wars content machine operated this way. Regardless, our antiheroes manage to escape Vancto and the smugglers, but once Han and Chewie return to the Millennium Falcon they find that Corbus Tyra (the thief who posed as Han Solo’s father Ovan in earlier issues) has taken up residence in the ship, and demands that they turn over the neural core. Now this is a cliffhanger I can get behind, as it’s sure to lead us into an exciting final issue for this miniseries, due out in March. Overall, Star Wars: Han Solo & Chewbacca has been a hit-or-miss ride for me so far, but this issue was great with some wonderful character moments– one thing writer Marc Guggenheim has definitely mastered is the voices of these characters. I’m holding out confidence that he and artist David Messina will close this ten-issue miniseries out on a strong note.
Star Wars: Han Solo & Chewbacca #9 is available now wherever comic books are sold.