
Easy Step-by-Step Guide to Getting Disneyland Tickets & Reservations


The magic of Disneyland is coming back April 30th and yesterday, the resort began selling tickets again, allowing Guests to make reservations for their visit. Long virtual queues and technical glitches prompted many fans to wait for the demand to die down, which it has. Here’s what you can expect going forward when planning your next visit to “The happiest place on earth.”

Your journey begins at Disneyland.com where the home page has been updated with a link to start your adventure. Clicking “Park ticket details” will take you to more information about how to plan your visit.
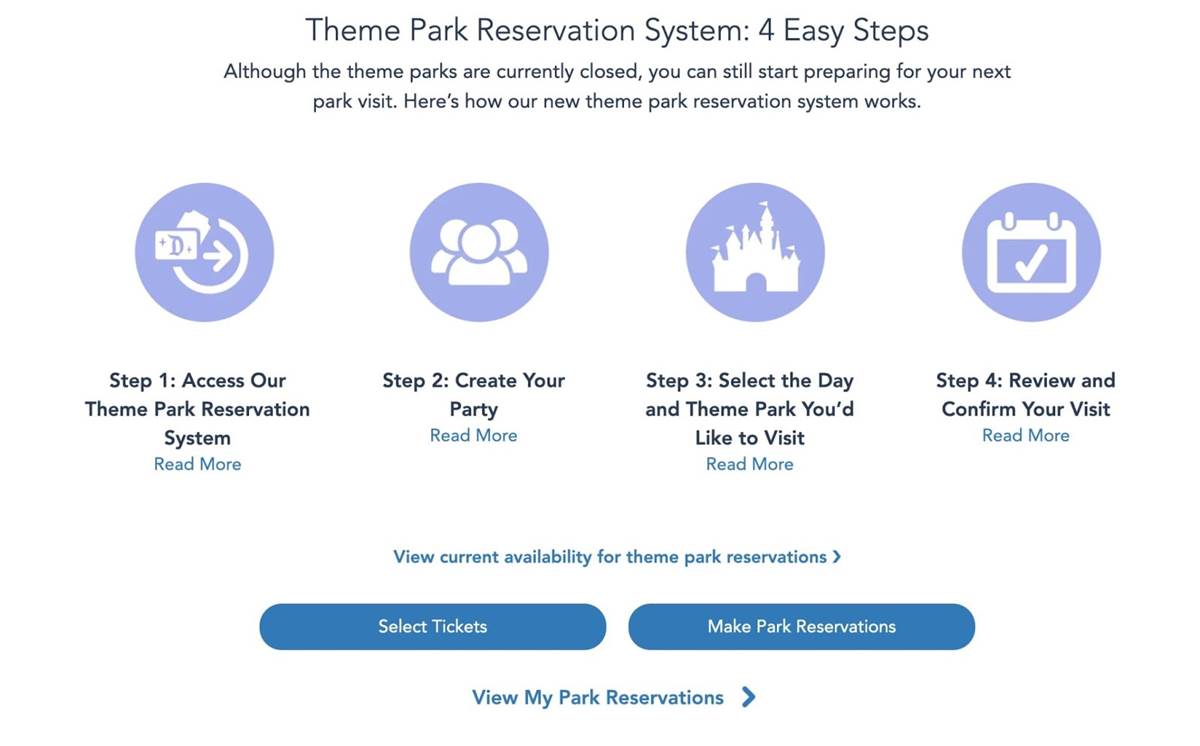
The website says there are “4 easy steps” to making your reservation.
4 Steps to Getting Disneyland Tickets
1. Access Disneyland’s Theme Park Reservation System
2. Create the party you will be visiting Disneyland with
3. Select the day(s) and theme parks you’re planning to visit
4. Confirm your visit
Step 1 - Accessing Disneyland’s Theme Park Reservation System
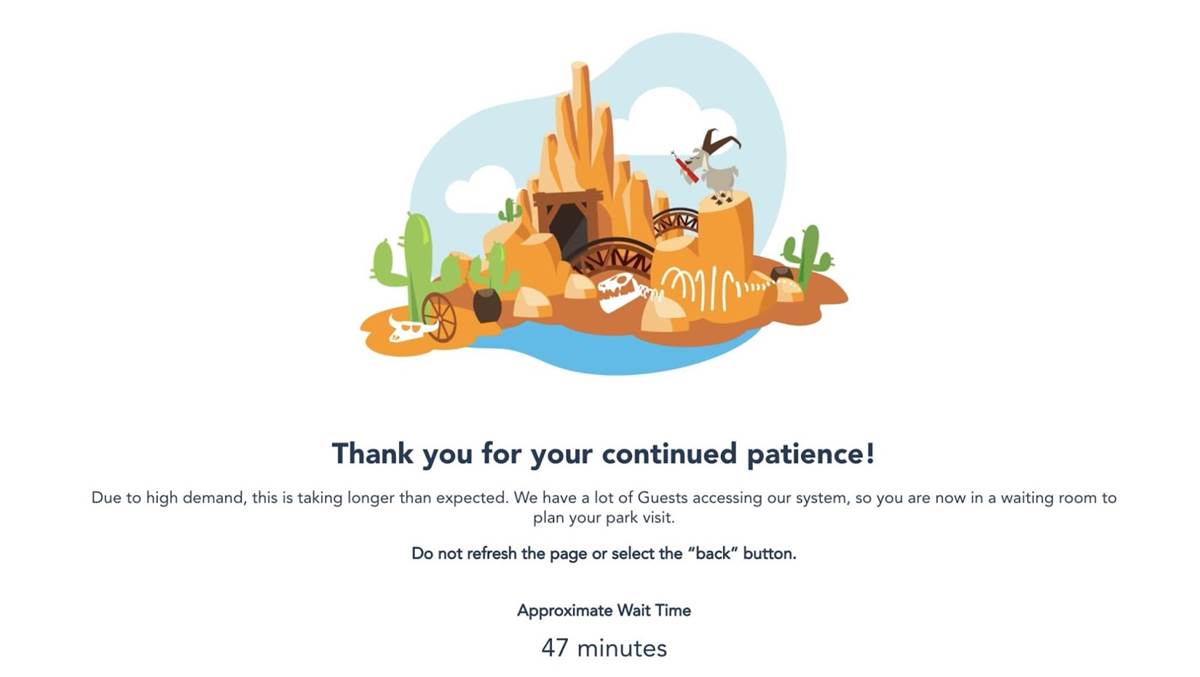
Getting to Disneyland’s Theme Park Reservation System will likely be the most time consuming part of the process, which starts with a virtual queue. From from the hours it took on the first day, visitors can now expect the wait time to be less than an hour. Be sure to keep an eye on this screen as once your time is up, you have a 10-minute window to start your ticket process before you would have to go to the back of the virtual queue and start all over again.
Step 2 - Create the party you will be visiting Disneyland with
The name of this step is a little misleading, unless you happen to already have valid tickets to Disneyland. Since Annual Passes were discontinued, this is a small number of people. Instead, what you’re really doing here is purchasing your tickets.

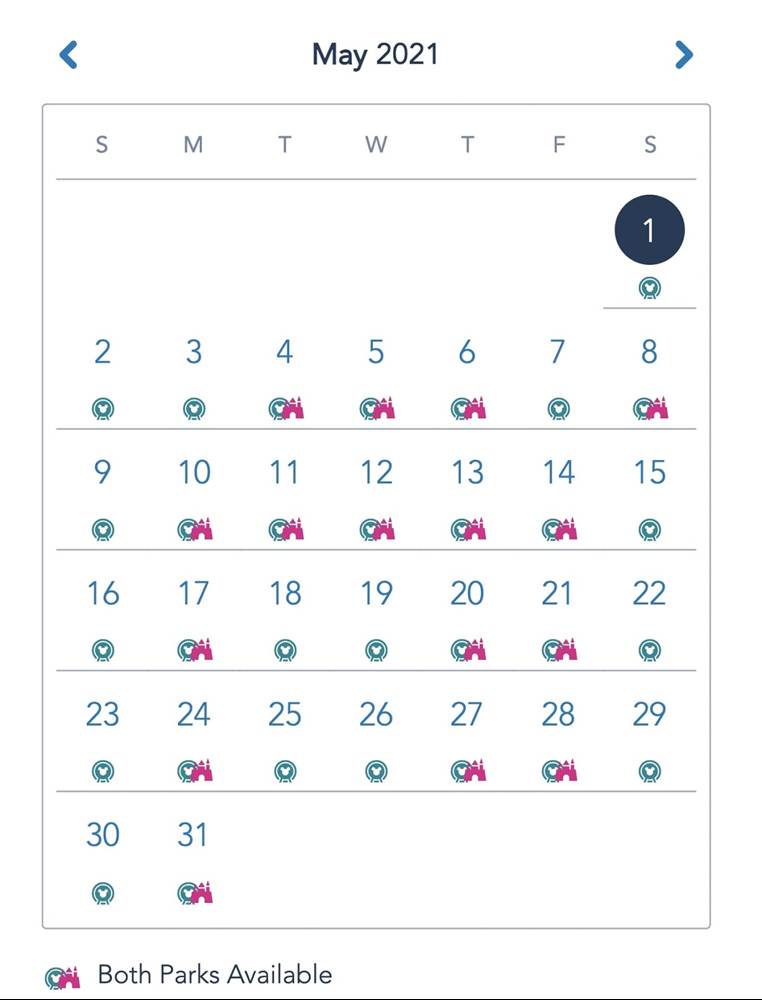
Taken to a screen where you’re presented with ticket options, I recommend clicking “View Calendar,” which opens a new window that shows you which parks are available which days. It uses icons to represent Disneyland and Disney California Adventure. If only one park is available and you’re using a park hopper, you can move to the other park after 1:00 pm.
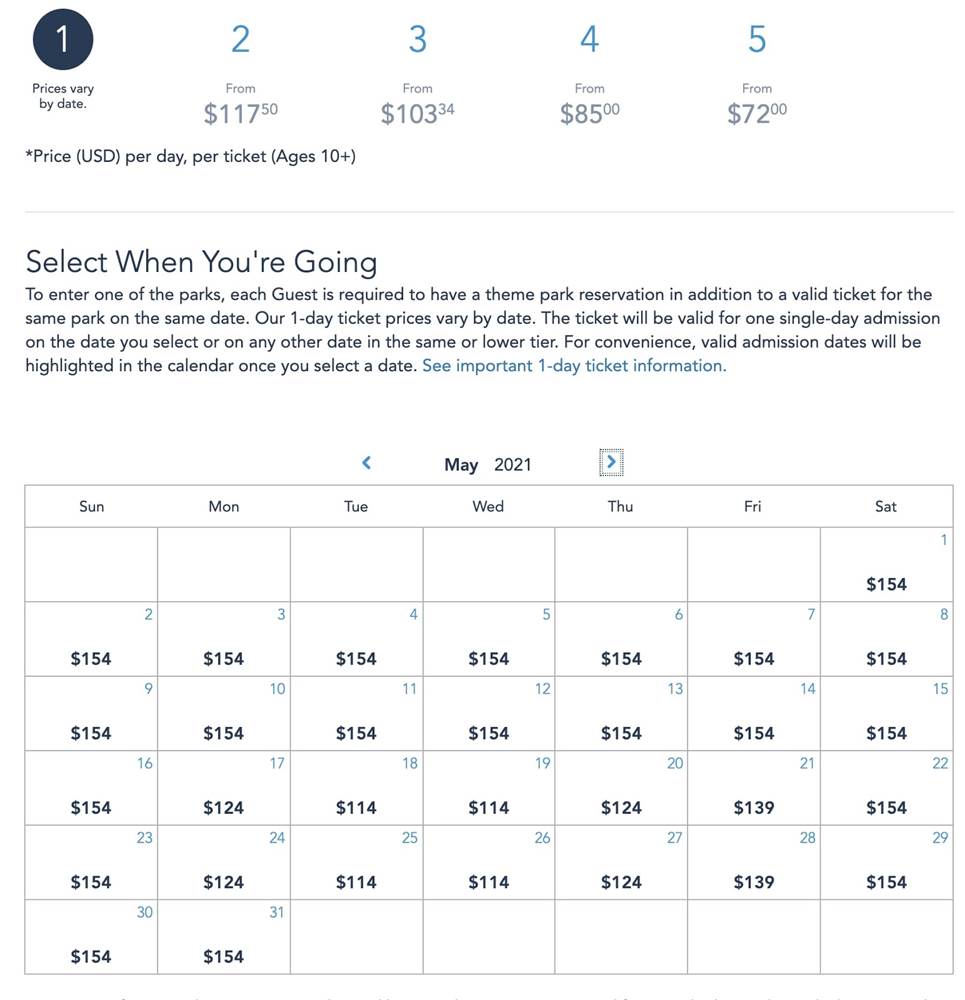
Back to the ticketing screen, selecting the ticket type gives you different options. If you’re purchasing a single-day ticket, the price per day varies and a calendar makes it easy to see how much the ticket will be on any given day.
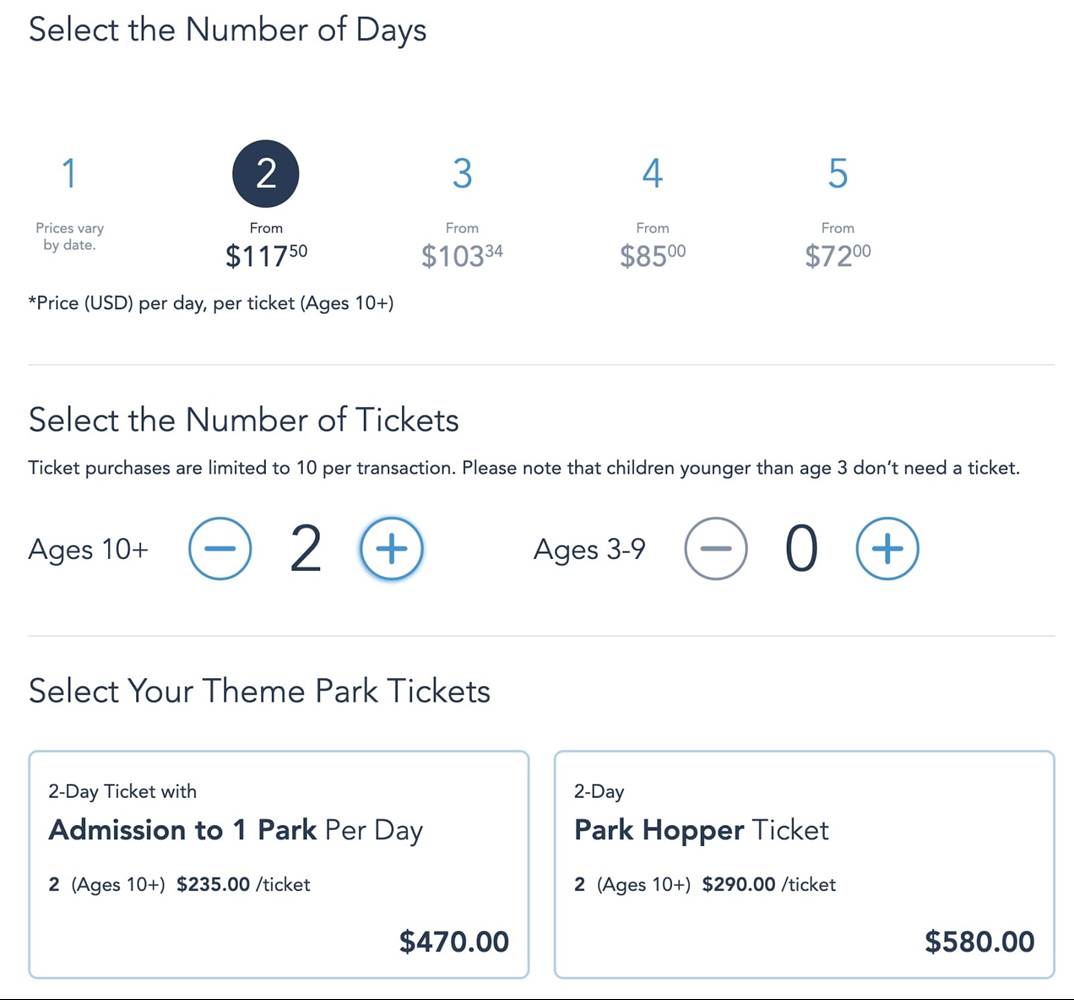
The demand-based pricing disappears when adding extra days, which then presents you with a more simplified view of the number of tickets and how much it will cost with or without the park hopper add-on.
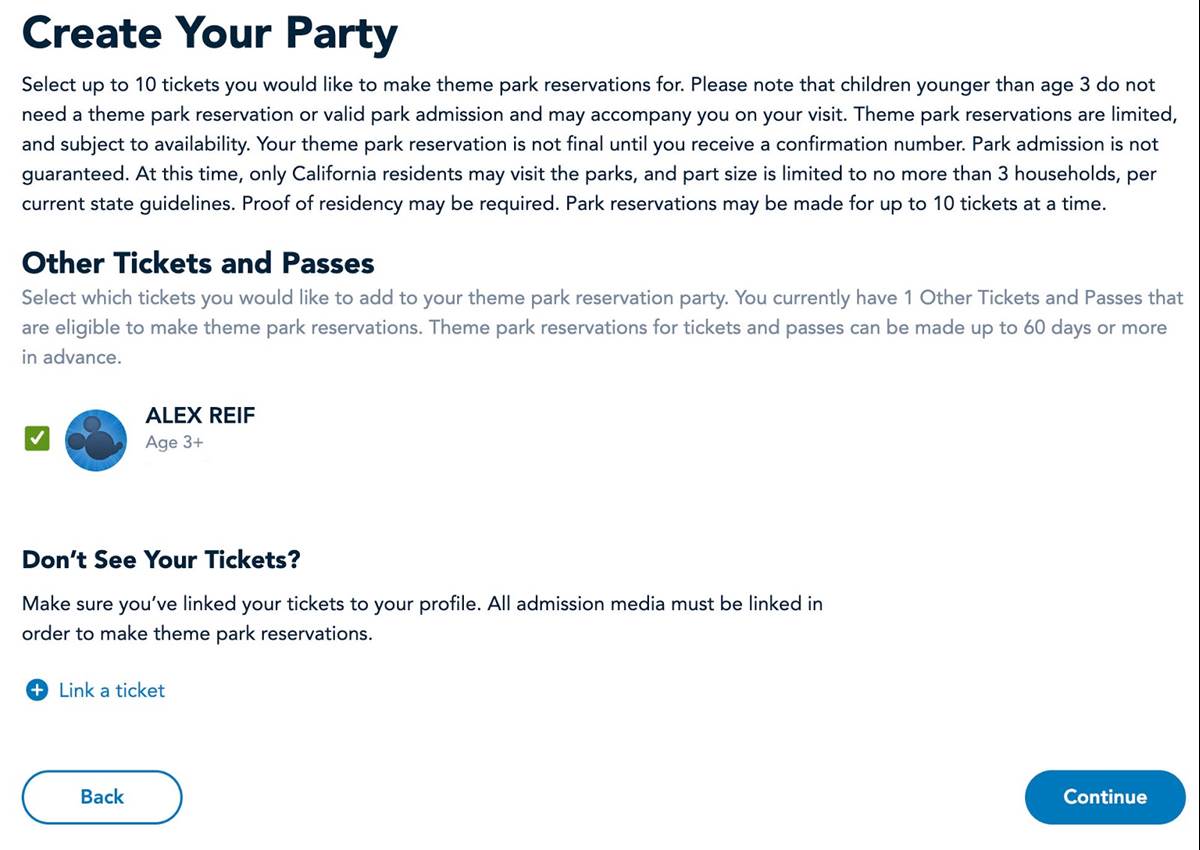
Finally, at the end of all that, you can “Create your party” by selecting or adding the names of the people who will be using the tickets. If you have a member of your party who already has their ticket, you will need the ticket number in order to link them to your reservation, which you’ll be making in the next step.
Step 3 - Select the day(s) and theme parks you’re planning to visit
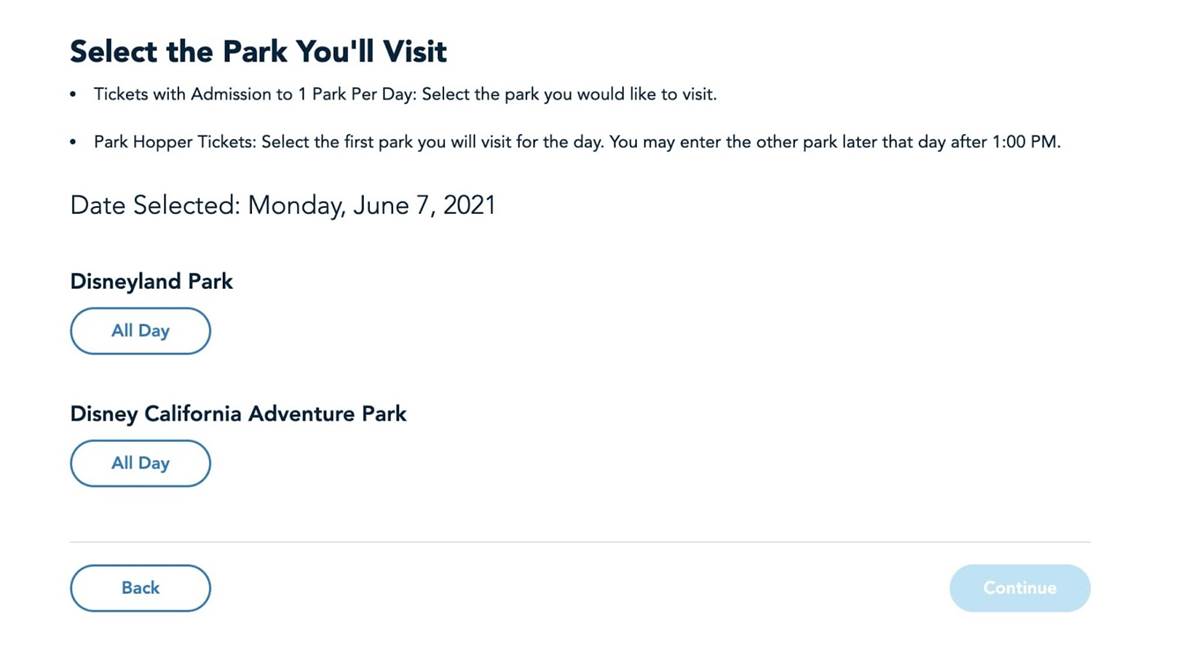
This step is actually simple, simply selecting which park you’re going to visit that day. The nomenclature confusingly says “All Day” for the button you press, even though that may not be the case if you’re using a Park Hopper. Once you select the park, you can click “Continue.” You will complete this step for every day you purchased a ticket for.
Step 4 - Confirm your visit
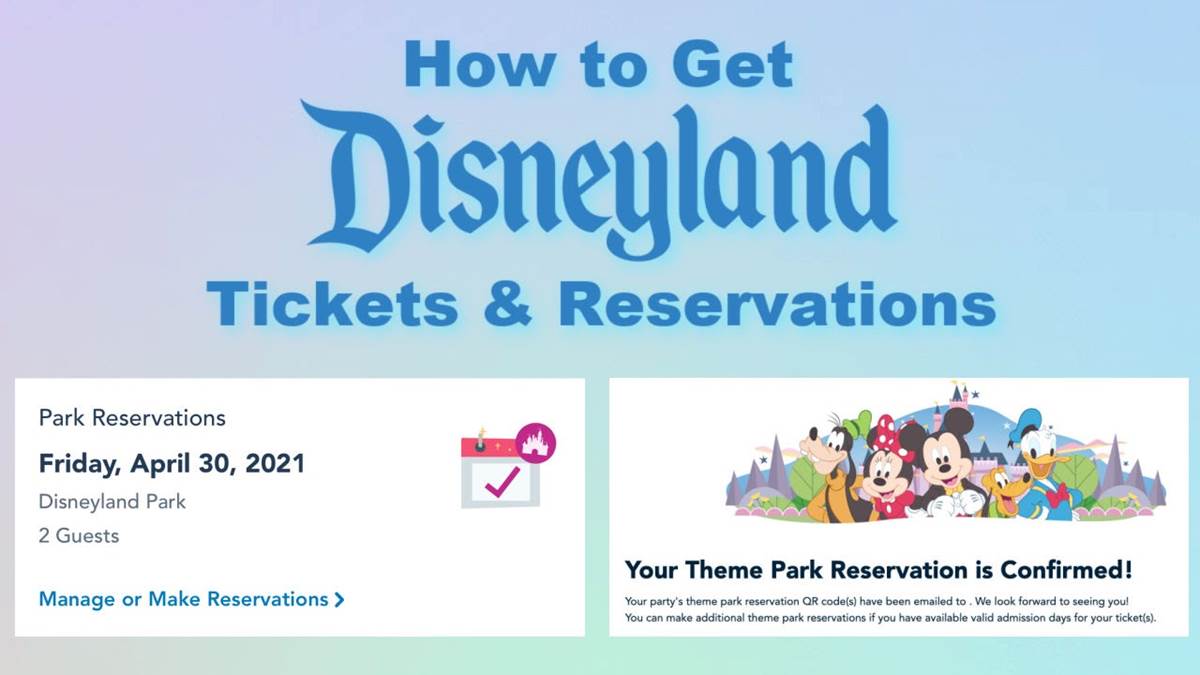
At the end of the process, the website presents you with a summary of your choices that you have to confirm.

Once you confirm your information, you’re greeted by a screen where Mickey and his friends look happy to see you. The confirmation screen also includes your reservation number and a barcode at the bottom of the page. Screenshot or print this as you will need it on the day(s) of your visit to get into the park, according to the website.
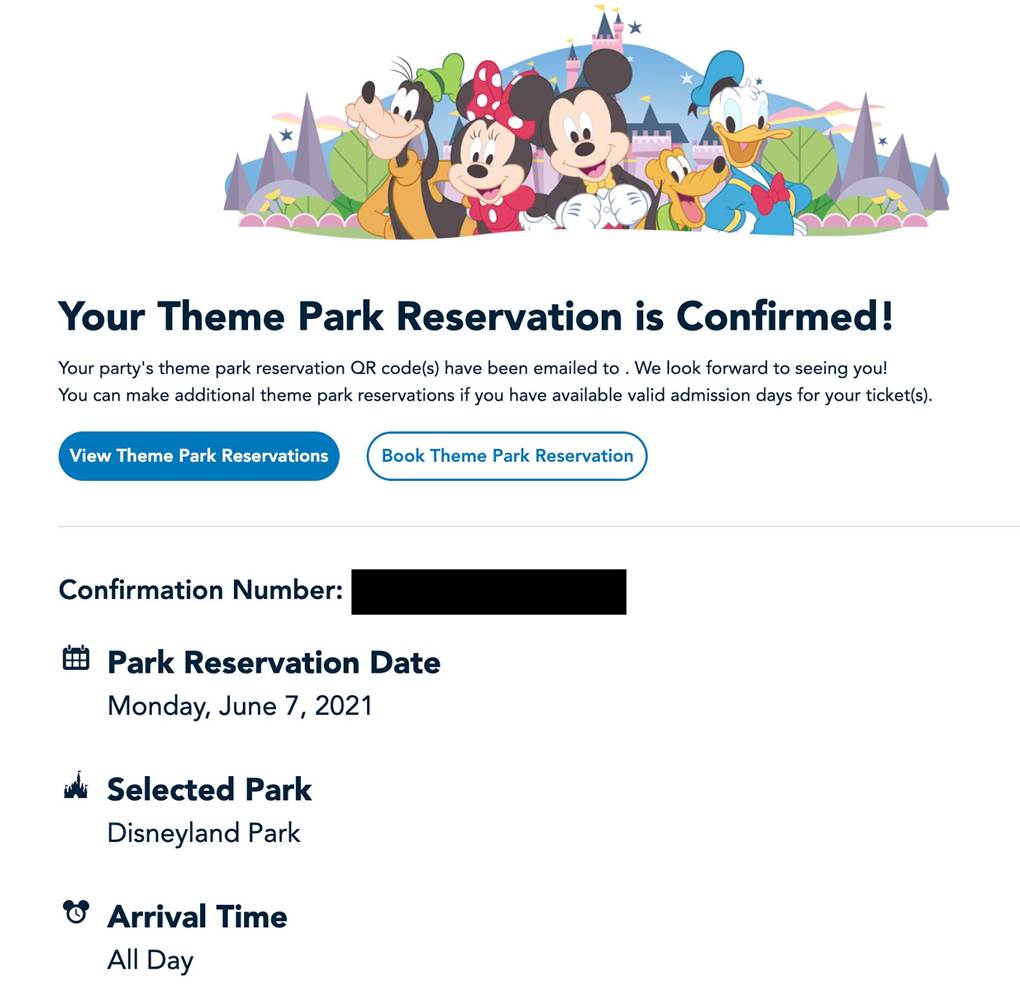
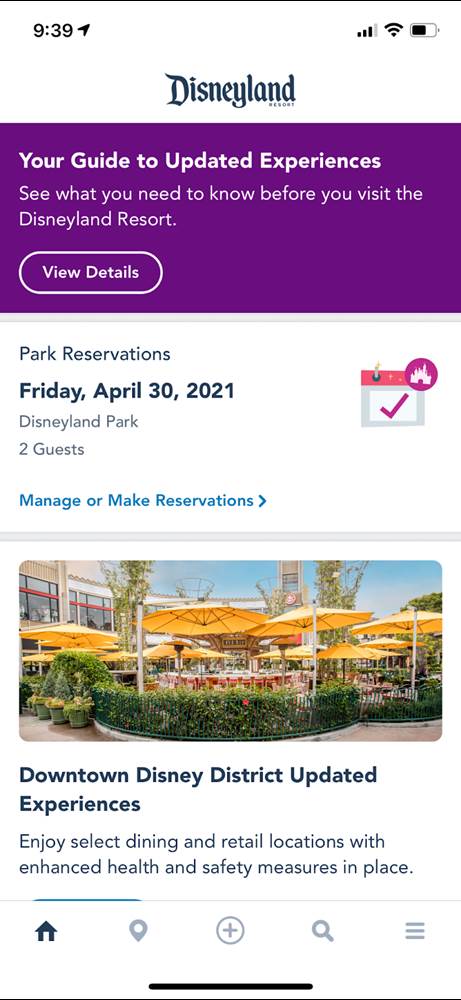
You should receive an email with this same information. After your session is complete, you will need to wait through the virtual queue again to view your reservation on Disneyland.com, but a simple workaround is to use the Disneyland app, which presents your reservation information at the top of the home page.
Important Reminders
- California Residents Only: The process never asks Guests to confirm they are California residents, but at this time, only California residents are allowed to visit Disneyland. “Proof of residency required,” the website states.
- Reservation Limitations: Disneyland is limiting the system to 1 reservation per Guest per day.
- Modifications: Disneyland does not allow modifications to a reservation once it’s been made, but reservations can be cancelled and Guests could start the process over again, using their linked tickets to reserve a different day.
- Availability Subject to Change: A day that was previously booked up may become available again in the future, either due to cancellations or an increase in the state’s capacity allowance.