
Comic Review – Characters Collide at Crimson Dawn’s Auction in “Star Wars: War of the Bounty Hunters” #2


Recently I’ve compared Marvel’s Star Wars: War of the Bounty Hunters comic book crossover event to the classic comedy film It’s a Mad, Mad, Mad, Mad World, with everyone in the galaxy scrambling after the carbonite-frozen Han Solo instead of the treasure buried beneath “the big W.”
In this week’s issue #2 of the War of the Bounty Hunters miniseries, all of those interested parties converge on the planet Jekara, where the ruthless crime syndicate known as Crimson Dawn is holding an auction under its current leader Lady Qi’ra.
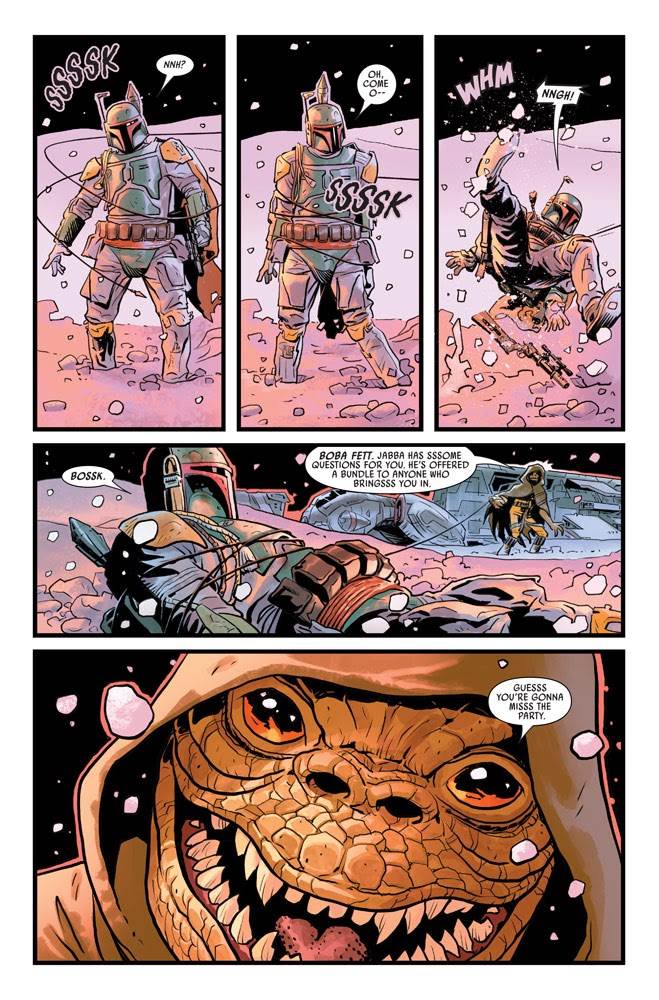
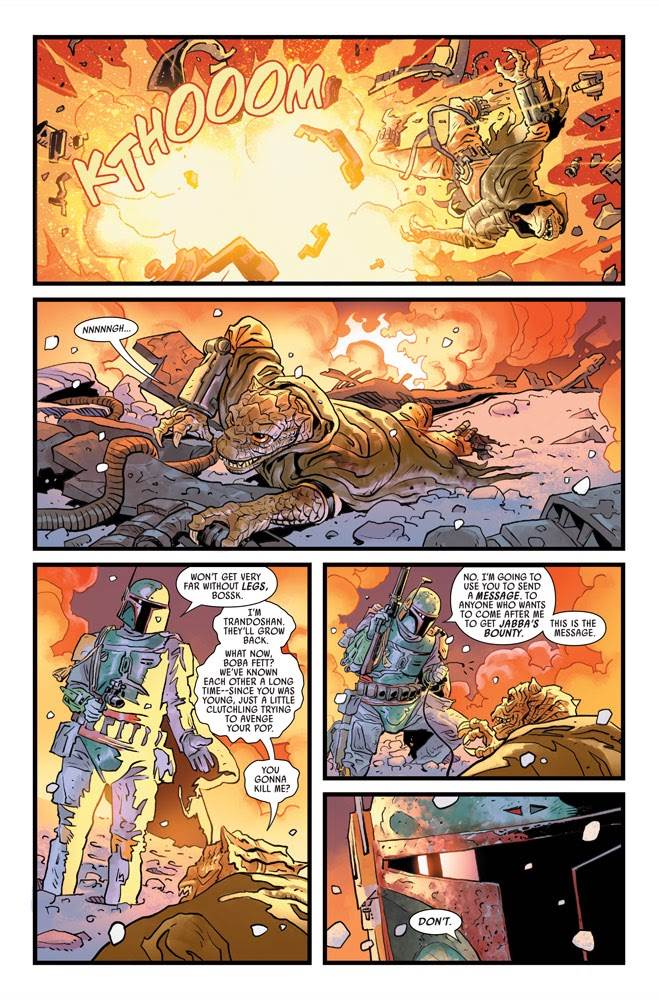
The prize at hand is that famous carbonite block, stolen from fearsome bounty hunter Boba Fett during a pit stop on his way to Jabba’s Palace, and the bidders include other criminal organizations like the Hutts, the Pyke syndicate, and Black Sun, not to mention the Galactic Empire itself-- representatives of which want Solo as a source of information on the Rebel Alliance. Meanwhile outside the party, Fett arrives in an attempt to regain his bounty, but finds himself at odds with his Trandoshan colleague Bossk, who seeks to turn the Mandalorian-armed hunter over to Jabba the Hutt for a reward. Throughout this issue, we also check in on rogue archaeologist Chelli Aphra and her partner in crime Sana Starros, the rebel trio of Leia Organa, Chewbacca, and Lando Calrissian, and none other than the dreaded Dark Lord of the Sith himself, Darth Vader. As Chelli and Sana note, many if not all of these factions and individuals have double-crossed each other at some point, so Crimson Dawn’s clandestine auction certainly feels like a powder keg set to explode at any moment.
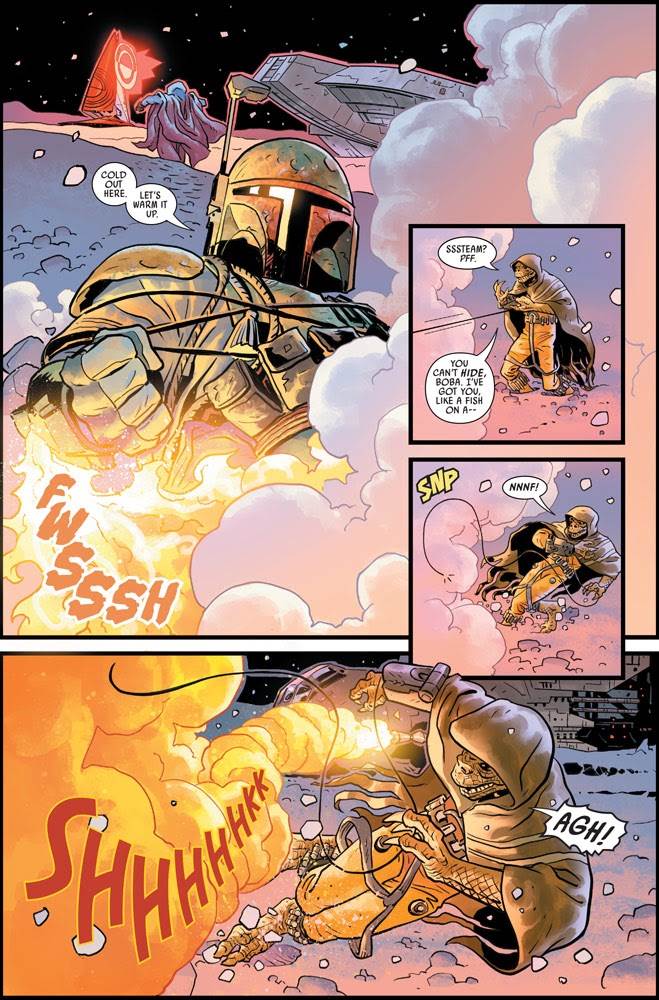
For the reasons why all of these characters want to claim Han-in-carbonite for themselves and how each of them wound up at Qi’ra’s auction in the first place, you’ll have to follow along with the tie-in issues of Marvel’s main Star Wars comic, plus the ongoing series Darth Vader and Doctor Aphra. Somewhat surprisingly, Beilert Valance of Bounty Hunters does not make an appearance here, though I imagine he and his unlikely ally Dengar will enter the fray before too long. This particular installment, entitled “The Scoundrel’s Ball,” is mostly a series of introductions followed by tension-building setup until the dramatic cliffhanger appearance of Lord Vader, which will likely pay off next month. I personally loved seeing Bossk and Boba Fett go at it for a few pages, and I also liked the latter’s first meeting with Dr. Aphra, who believes him to be a surviving clone trooper due to her recognizing his voice from historical holovids. Qi’ra remains an enigmatic presence here, as we still haven’t been filled in about what she’s been up to since the events of
Solo: A Star Wars Story. I have to wonder if that gap in her timeline will remain a mystery for now or if writer Charles Soule has been giving free reign to explore her recent past. Either way, I’m still enjoying this event series and I continue to be wowed by both Soule’s writing and the eye-catching artwork by illustrator Luke Ross and colorist Neeraj Menon.
Star Wars: War of the Bounty Hunters #2 is available now wherever comic books are sold.