
Comic Review – “Star Wars: Han Solo & Chewbacca” #10 Wraps Up the Miniseries by Setting Up Future Stories


It’s been a fun ride over the past ten months with Marvel Comics’ Star Wars: Han Solo & Chewbacca miniseries, written by Marc Guggenheim and set somewhere between the events of Solo: A Star Wars Story and the original Star Wars: Episode IV - A New Hope.
But the latest issue of the comic-book miniseries, #10 (released last week) wraps things up for our favorite smuggler duo by bringing in all the supporting players from this title for one last confrontation.
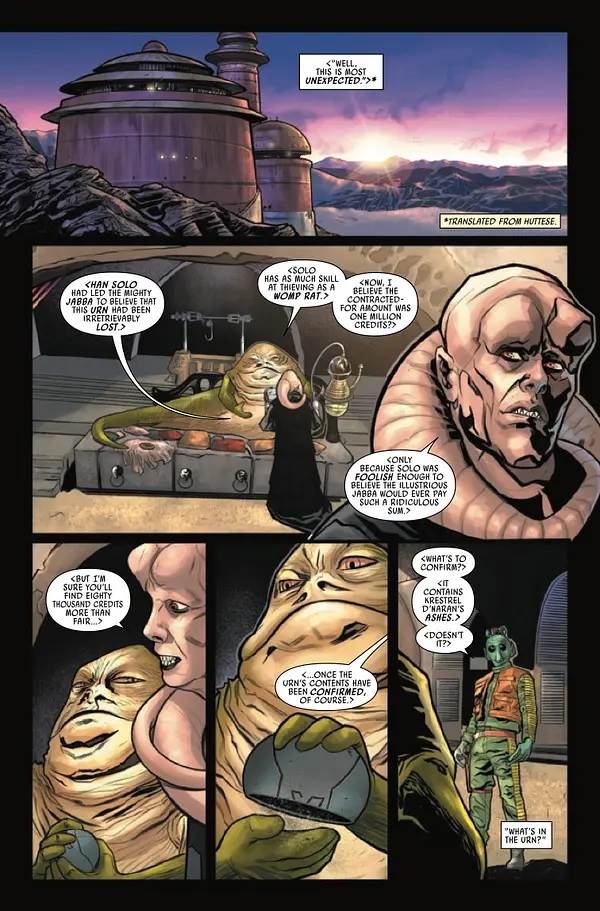
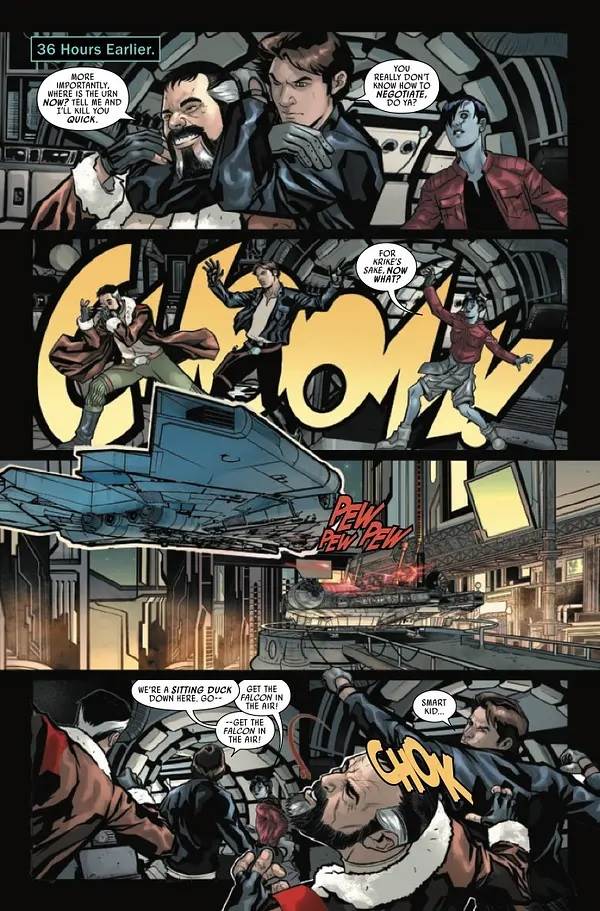
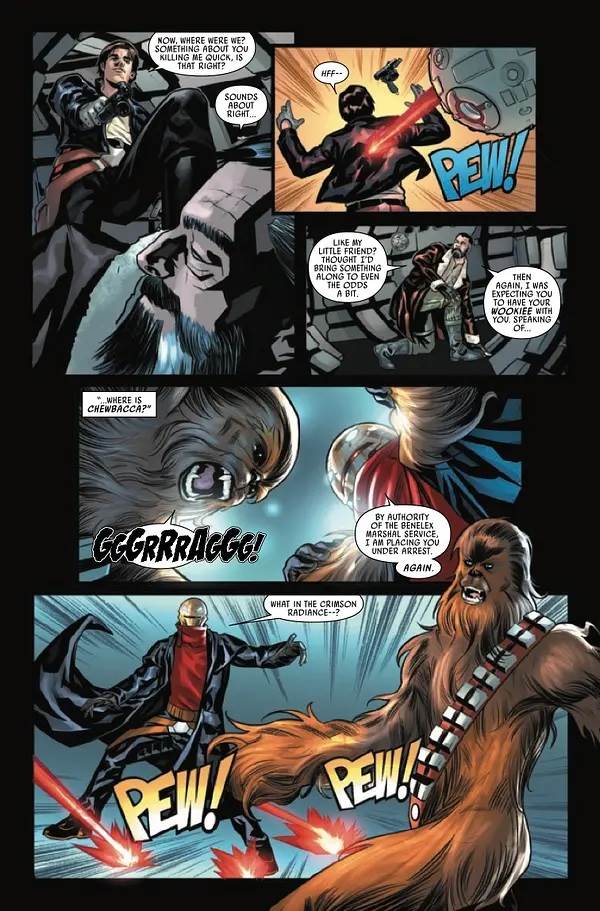
Han Solo & Chewbacca #10 begins with a flash-forward to the Rodian bounty hunter Greedo delivering the long-sought-after urn to Jabba the Hutt on Tatooine. We– and many of the characters in this story– were initially told the urn was supposed to contain the ashes of one of Jabba’s main rivals, but as we found out in the previous issue, it actually held the memory core for a deadly freedom-fighting droid named Ajax Sigma (who first appeared in an ominous Force vision to Darth Vader in the Star Wars: Revelations one-shot). Back in the “present" of this comic (36 hours earlier), Han tussles with the con-artist called Corbus Tyra– the man who pretended to be Solo’s father Ovan in earlier issues. This also sees the introduction of the training remote used by Obi-Wan Kenobi and Luke Skywalker in A New Hope to the Millennium Falcon’s hold, but that’s just a fun Easter Egg. We then cut to Chewbacca on the Smugglers’ Moon of Nar Shaddaa, where the Wookiee is busy dealing with Marshal Buck Vancto and a rival gang of smugglers. Back on the Falcon, Han tells his new ally Phaedra to launch the ship, but their egress is impeded by the other smugglers’ similar Corellian vessel.
This all comes to a head when the Falcon crash lands back onto the surface, sending Tyra fleeing into the wilderness and bringing Buck Vancto in with his various enemies. There’s a final showdown that sees Han and Chewbacca, as lucky as they are, emerging having survived, and the now-empty urn in the hands of Corbus, who delivers it to Jabba the Hutt via Greedo. Our heroes bury the Ajax Sigma memory core in an as-yet-unnamed location, and Guggenheim teases us with a possible continuation of this story sometime down the line in the future. But the most intriguing tease comes in the form of a flow chart that connects Star Wars: Han Solo & Chewbacca to Star Wars: Revelations to the currently running Star Wars: Hidden Empire miniseries, to another unrevealed title– possibly the recently announced upcoming Star Wars crossover event– with the Aurebesh text next to it reading “Classified - Coming Fall 2023." As I’ve stated many times before in these reviews, I’m a pretty big fan of the interconnected nature of the current Star Wars canon, so the idea of using Han Solo & Chewbacca to plant the seeds for that story is an appealing one to me. But if the final-page tease pans out, I also really wouldn’t mind seeing Gugenheim continue the adventures of Han, Chewie, and Phaedra during this era of the larger timeline. I think the writer’s ten-issue collaboration with artist David Messina has turned out to be quite a fruitful one, and I would love to see what other adventures they could cook up using these characters. And heck, I think there’s also a lot of potential left in Corbus Tyra as a villain, so I’m crossing my fingers that we haven’t seen the last of him.
Star Wars: Han Solo & Chewbacca #10 is available now wherever comic books are sold.